Tuesday, December 31, 2013

Summer - Fall 2013

I had a little time this summer to get some things done, but then worked solidly from September up to Christmas.  I did enclose the stairway, as intended, and took measures to solve a problem that's been plaguing me for years - ice buildup on the garage floor.  Lastly, I repaired the damage done to one of my in-floor heating tubes that occurred during the 'mud-jack' of the garage floor awhile back.  Have you ever cut a 6" square hole through 4" of concrete?
 
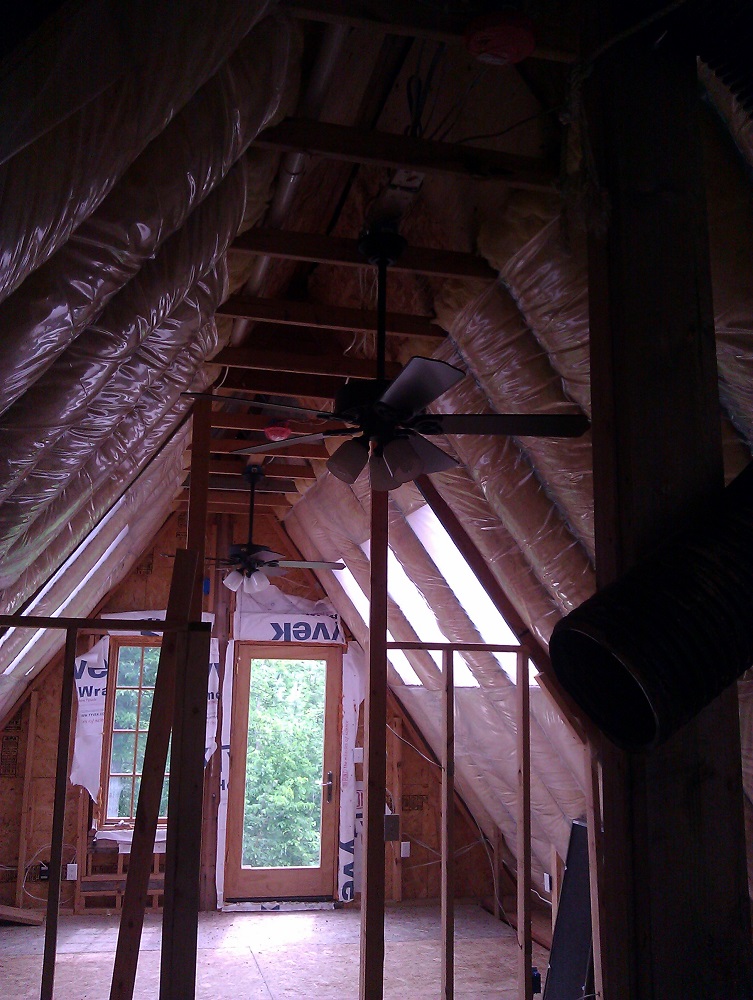
Oh yes, and I reached a pivotal moment late this summer...a BBQ and poker night out there, where the whole gang crashed in the house.  This marked the first time anyone has actually slept (all night) in the house itself.  Here are some pictures of the enclosed stairway and BBQ.


Here are the pictures of the hole I had to cut, drill and chip out to get to the damaged in-floor heating tube.  I have pictures of the repair and new concrete somewhere, which I may add later.


And finally, the icing on the garage floor.  What happens, is that snow comes off the steep roof and piles right in front of the garage doors.  Since I'm not up there all the time to shovel right away, it can build up into quite a mound.  If the sun hits just right, some snow can melt off the roof and drip in front of the mound, which blocks it from draining properly, and it seeps under the garage door.  My plan was to dig a ditch along the entire length of the garage apron, then cover it with those steel drain grates like they use in the floor of the oil change places.  I found a decent deal on Craigslist and bought enough for the job, and also dug the ditch (12" wide x 18" deep x 56+' long) - by hand.  Digging the ditch took 3 or 4 hours per session, 4 or 5 sessions.  I didn't buy the wheelbarrow until halfway through the process, which helped tremendously.

Well, as it turned out, the steel grates weren't going to work, because I was told that pouring a concrete "u" shape wouldn't hold up.  I was convinced by the concrete guy to put down 'pea gravel' and drain tile, then cover it with more pea gravel.  Frankly, I'm not convinced it will work nearly as well as my original plan, but we'll see.  The real key is to get up there more often to do more shoveling and keep the snow from building up.  More easily said than done, but I'm making an effort this year because last year I could literally have skated around in the garage...no joke.  First picture is the grates that wouldn't work.  I resold them on Craigslist and broke even.


Thursday, July 4, 2013

July 4th, 2013 - Update Pictures


First I'll show you the ceiling fan lights I installed over the winter, but neglected to photograph until recently.  The first two shots are of the bathroom ceiling fan, one taken from the bathroom main level up into the vaulted ceiling area, the other taken from the entry to the loft above the bathroom as its construction has progressed so far.


Here is a shot from the bottom level showing the two ceiling fans in the main living area.


This is from the west loft bedroom showing one of the main room fans and the fan in the east loft.  The west loft has an identical setup.


The next two pictures are open-closed shots of the hidden ladder up to the bathroom loft.  That loft is big enough to section part off for bathroom storage as well as a small sleeping room for a low-maintenance guest.


And finally, the "Battery Bench", to complete the rear wall workbench space in the shop half of the garage.  The battery bank (6-8 deep cycle batteries) will rest on the grayish colored, lower shelf in the "L" portion of the bench.  The rest will be used for more storage and work space.  Note the geothermal tubing sneaking through, and the orange pex tubing which supplies the hot water for the in-floor radiant heat.  The pump for the radiant heat is tucked under the shelf where the battery bank will rest.


I'd list what I'm planning to do next, but it seems like I'm kind of attacking a number of things at one:  Landscaping (great big rocks) is kind of an ongoing fill-in task, plumbing is still a likely next project, whether I have the vanities and kitchen sink in or not, deep-cycle batteries and solar panels would be fun to start, and even some finished walls and a woodstove chimney might move up on the list.  I guess you'll just have to wait and see (same as me).

Wednesday, June 19, 2013

Early Summer 2013 - More electricity, A/C Fan mounting

I was working in the metro area through the end of May, so work on the house was restricted to weekends.  It was also the first good winter for snowmobiling in awhile, so many weekends through the winter were dedicated to that rather than house progress.  Those excuses aside, I did finish up my electricity - phase one, anyway.  I found out from the inspector that all the solar panel and wind generation equipment installation would require a separate permit.  Oh, and the permit - I failed my first attempt at my final electrical inspection, but was assured that almost all DIY'ers do.  There were a few minor details and easy fixes, but one of the main issues was the connection of the power source.  I had my gas generator connected to the breaker box, which is fine, but there needs to be a "transfer switch" in place, which I did not know.  The transfer switch is a safety measure for eliminating any exposed 'hot' terminals, and also keeps electricity from "back feeding" through the breaker box and into your solar panels or to the grid, if you're hooked into utility power.  Lastly, the GFI's and other safety breakers weren't tripping when the inspector was attempting to force them to short out with his testing equipment.  We assured the outlets were wired correctly, then discovered that my generator wasn't producing enough wattage at idle.  I had to manually increase the generator speed because this type of generator only increases when more load is required.  So now all of the minor details have been corrected, but I have yet to acquire a transfer switch, because the one I need will have to be incorporated into the solar/wind battery charge controller.  I figure I'll get all that equipment at once, then schedule my second final inspection - which I have a year to do.

Corrections from last entry:  #1:  I did end up going with rotary switches for the ceiling fans in the bathroom and the main living area, rather than remote control units.  The two in the main living area work from one switch, so they're always at the same speed.  The one in the bathroom has a rotary switch for the fan and a standard switch for the light.  The ones in the bedrooms change speeds by the pull-cord that comes standard with most ceiling fans.  The ceiling fan lights are all installed and working correctly, so I'll post pictures of them soon.  Correction #2:  I didn't start plumbing yet, but will soon.  I need to install bathroom vanities and (lower) kitchen cabinets before I can get to plumbing.  Also, one of the 'minor details' from the electricity is that the bathroom vanity lights need to be installed.  Correction #3:  The kitchen cabinet framing I had previous installed all had to come out - I'll find some pre-built cabinets.

So what I did do:  I improved the lower part of the garage entry stairway - widening it in preparation for adding finish flooring, a doorway and eventually enclosing the whole staircase.  See the before / after pictures below:
 

Next I decided to build a permanent mounting for the squirrel-cage fan I'm going to use for the 'poor man's' geothermal air conditioning.  In case you didn't read about it in the website pages, I decided to try an old farmstead trick of burying (the midsection of) a long piece of flexible plastic tubing, then drawing air through it.  The idea is that the air will cool underground as it flows through the tubing, providing a/c without the need of a compressor and condenser and all that equipment.  So, with the tubing in place, I needed the fan and fittings to route the cool air to the highest point in the house, because cool air 'falls'.  You'll have to go back to the website to see the pictures of the tubing making its way through the upstairs rafters, but the fan frame, which I incorporated into an extension of my workbench, is shown below:
 

Here it is shown with the removable shelf.

 
Next:  Pictures of the ceiling fans and the shelf I'm going to build for the battery bank.